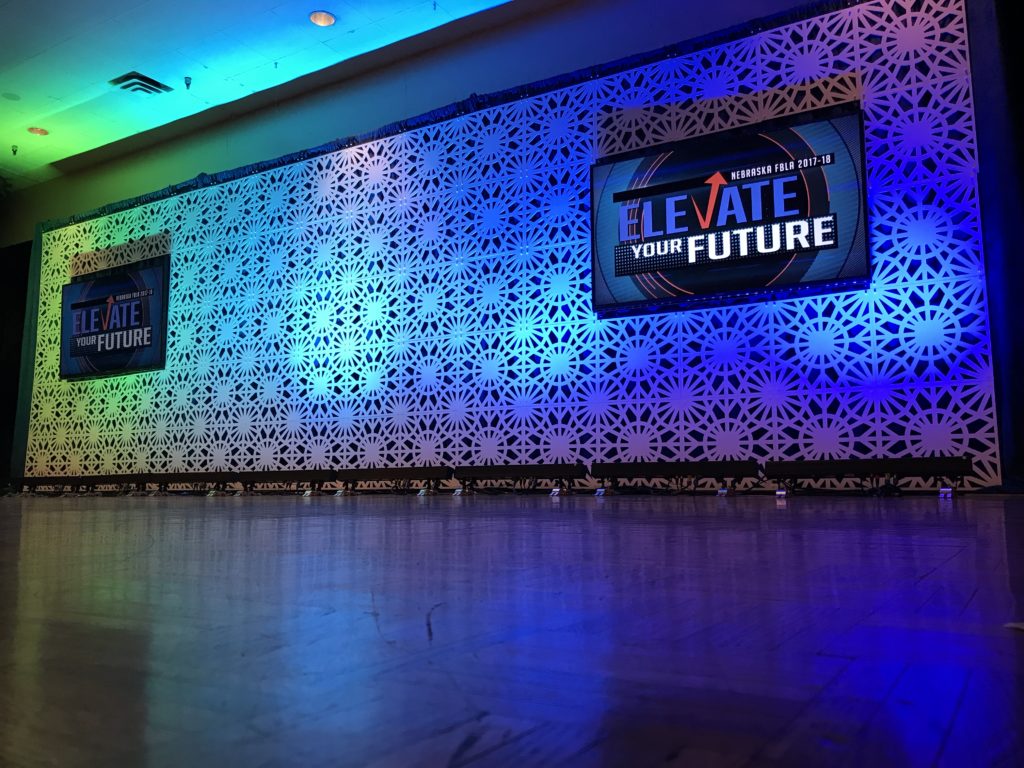
Thank you for your purchase from Mod Scenes! We are over joyed to be able to serve you! In this document you will see all the steps need to setup your new Pro Scenes Scenic panels. As you may already know, our Professional stage design products create some of the most interesting and beautiful stage backdrops in the world. We strive to go above and beyond with every product and our service! We hope you have found that to be the case so far with your order. If you have any questions while going through the instructions below, do not hesitate to reach out to us. We would be more than happy to walk you through the process step by step over the phone. Enjoy the great epicness that is your Mod Scenes stage backdrop!
Each Pro Scenes 4 pack Includes: 4- 23.5” x 23.5” Fire Rated PVC design panels, Hardware is provided additionally to meet your needs.
There are a few things to note before building your stage backdrop:
-Everything should be built using no tools.
-You will have extra parts, those are spares inn case parts are lost in the future.
-Your first row is the most important row to setup, make sure your first row is level horizontally and the rest of the stage backdrop build will be easy.
-If you are using Pipe and Drape, ensure it is properly setup, designed, and sandbagged to hold the additional weight of the Pro Scenes Panels.
-If you are renting stage backdrop panels, please return your products in the same boxes they were shipped in. Please also, ensure that no hardware makes it into the panel boxes as that can cause damage in shipping. Damage is no fun!
Step 1:
Use captive 4 way tie connectors and 2 way tie connectors to attach to truss, pipes, or line sets. You will build your first row of panels from these connectors.
(photo of tie on connectors tied to a silver pipe)
Or
You can utilize our Pipe and Drape hangers to hang on top of standard pipe and drape. They are made to gently hug your pipe cross bars without damaging your drape or pipes. Our pipe and drape hangers are bendable and can bend to fit larger pipes. Make certain to bend all clamps back to their original shape before attaching connectors. Once your pipe and drape hangers are hanging from your pipe and drape, attach 2 way connectors (on the edges) and 4 way connectors (in the center) to your Pipe and Drape hangers using the provided black cap nuts. Make sure to tighten the cap nuts securely.
(photos of pipe and drape hangers being placed onto pipe and drape; picture of finished pipe and drape hangers and connectors bolted together)
Step 2:
Next, attach your first row of design panels to your connectors. Simply slide your panel over the captive screws of the connectors and tighten the connectors and panels together with white nylon cap nuts. Fully hang each panel before moving on to the next one. Make sure your hangers are level to ensure a seamless build all the way to the floor. Making sure this first row is flat will make your stage backdrop build incredibly easy.
(picture of Crescent Moon Design panel being attached to 4 way captive connectors with white nylon cap nuts)
Step 3:
Once your first row of panels is completed, you will add a row of connectors on the bottom half of the top row of design panels. Utilize 2 way connectors on the edges of your design and 4 way connectors in the center. Once this row of connectors is added every bolt hole in the design panels should be filled.
(pictures of connector row being completed at the bottom of the first row of design panels)
Step 4:
For the next step, hang additional design panels to the connectors that were just added. The top of these design panels will connect to the bottom of the previous row of connectors. Attach these in the same way using nylon cap nuts to secure the panel to the captive bolt of the connector.
(picture of 2nd row of crescent moon panels being hung)
Step 5:
Next, repeat steps 3-4 until you reach your desired height. Most panel types can build to a height of over 24 feet. If you have a specific height limitation question, feel free to contact us at Modscenes.com and we can give you exact specifications.
(pictures of additional rows of panels and connectors being hung.)
Step 6:
To finish the last row of your stage backdrop, add 2 way connectors across the bottom bolt holes of your backdrop panels. These keep the backdrop looking seamless and finished.
(picture of 2 way captive connectors being added to the bottom bolt holes of the last row of design panels.)
Step 7:
Next, add a single loose bolt and cap nut to the bottom corners of your backdrop. This is key to making the backdrop look uniform. The bolt should be 5/8 inch in length to make the process easy. These are included in a small bag labelled loose bolt sets.
(pictures of loose bolt set being attached)
Step 8:
Enjoy your finished stage backdrop! Be aware that Mod Scenes are know to create a scene. Mod Scenes and its associated affiliates can not be held responsible for the un-controllable feelings of love you may feel for your stage design. We however take 100% credit on record breaking firsts, including being the highest rated stage design company in North America.
All kidding aside, thank you from the bottom of our hearts for allowing us to serve you. It is a great privilege that we vastly enjoy to serve you and help further the visual landscape you create! Thank you for your order, and the way you change the world! We love being in the great company of fine folks like you!


Recent Comments